This is a delicious traditional recipe that everyone loves. It’s made out of just four easily available ingredients, and once you get the hang of it, you will love to serve it as a dessert at all your events whether for a small number of people or for many.
Recipe: Darshana Muzumdar
Serves 4 as part of a traditional Indian meal
Ingredients
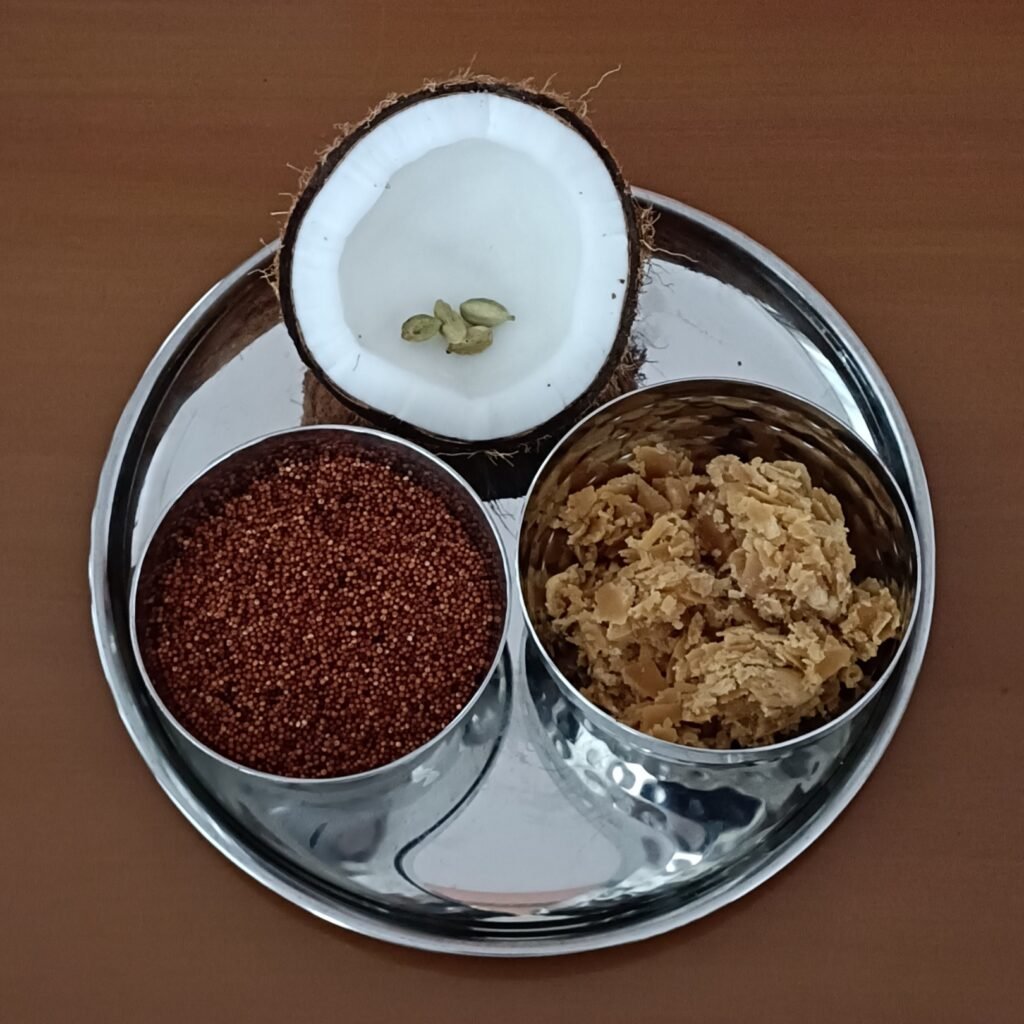
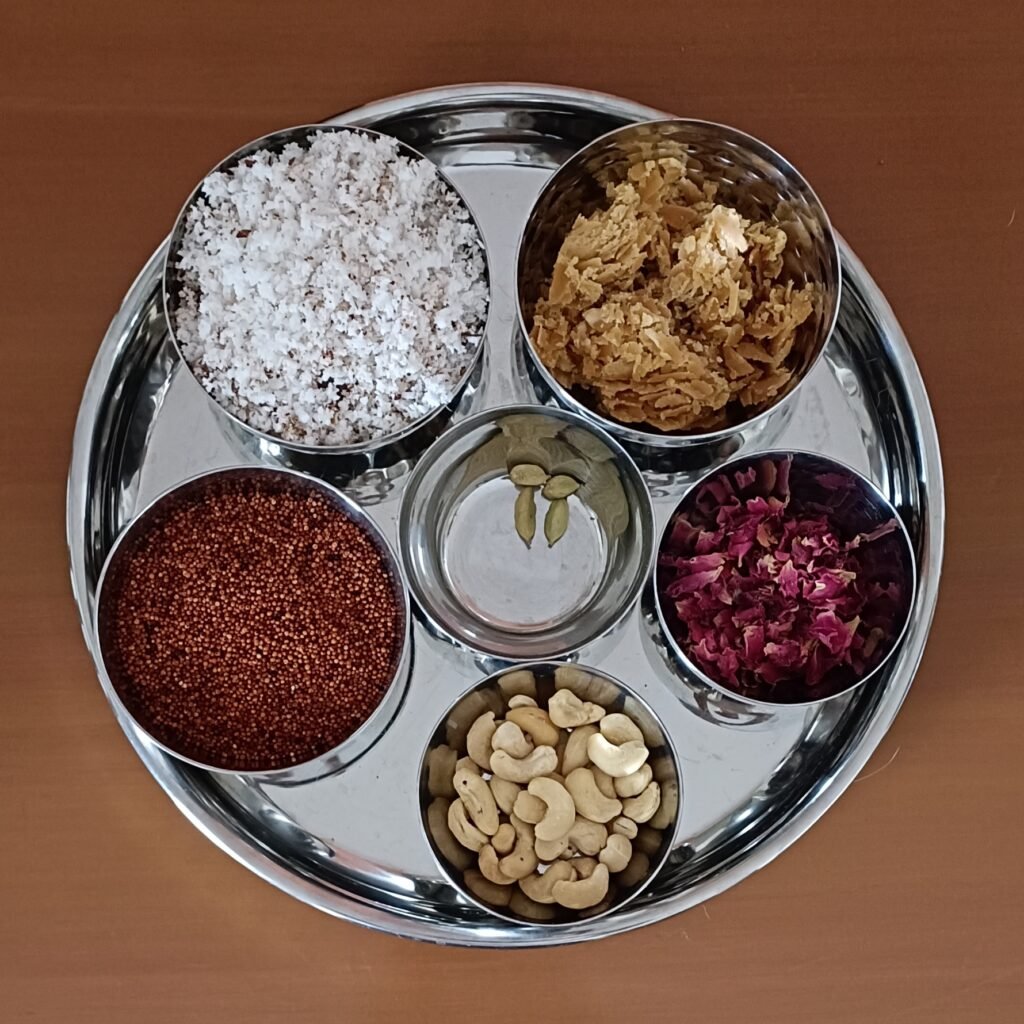
- ½ cup (100 gms) ragi/nachni (finger millet) washed, rinsed and soaked overnight in enough water to cover it and some more
- 1 cup (240 ml) water to grind the nachni
- ½ coconut, grated (approximately 1 cup)
- 1¼ cup water to grind the coconut
- 4 cardamom pods
- ¼ cup black colored (palm) jaggery + ⅓ cup jaggery OR ½ heaped cup of jaggery
- ¼ cup broken cashew nuts including some halved cashews for garnishing (optional)
- 1 tbsp rose petals for garnishing (optional)
- 1 tsp cold pressed coconut oil
- ⅛ tsp salt (optional)
Method
Grind the coconut and cardamom with enough water to just about cover it in the blender jar. This will yield the first thick extract of coconut milk. Strain it in a thick bottomed steel pot or kadhai. This will be around 1 cup.
Grind the leftover coconut fibre once again with the rest of the water and strain it in a separate bowl. This will be around 1 cup.
Add the two kinds of jaggery to this second thin extract of coconut milk, mix it well and leave it for 10-15 minutes for the jaggery to become soft and dissolve while you make the nachni milk.
Rinse and drain the soaked ragi and then grind it with as little water as possible.
Strain the ragi milk into the thick first extract of coconut milk in the thick bottomed steel kadhai.
Grind the leftover ragi again with a little more water and strain the milk into the kadhai. Note: The ragi is usually ground twice but you can grind it once more if you think it wasn’t ground finely enough but do not use more than one cup or 240 ml water to grind the ragi for the two or three extracts together. The ragi milk from the two or three grindings should be around 1 cup.
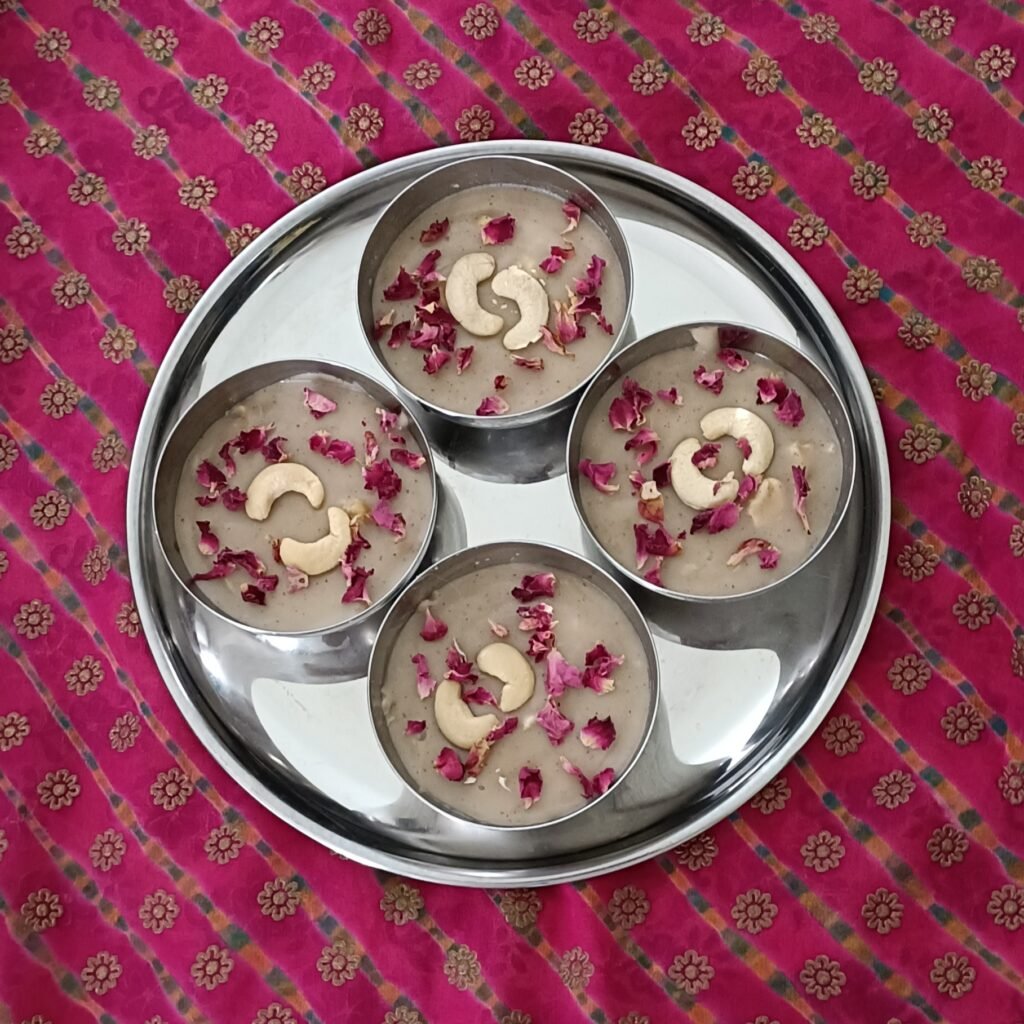
Grease an 8-inch square pan or a round one of similar capacity (enough for 3 cups) with a teaspoon or less of cold pressed coconut oil and keep it aside ready to use. You can also use a steel chapati box to set the mixture like I have in the picture or some individual small bowls. Make sure the containers are greased with cold pressed coconut oil.
Strain the jaggery and thin coconut milk mixture into the mixture in the kadhai. This should be around 3 cups in all.
Add the nuts and salt and bring it to a boil on medium heat, stirring all the while to prevent lumps or from catching at the bottom. Once it starts bubbling, continue cooking and stirring it for another one and a half or two minutes till the mixture is pretty thick and shiny.
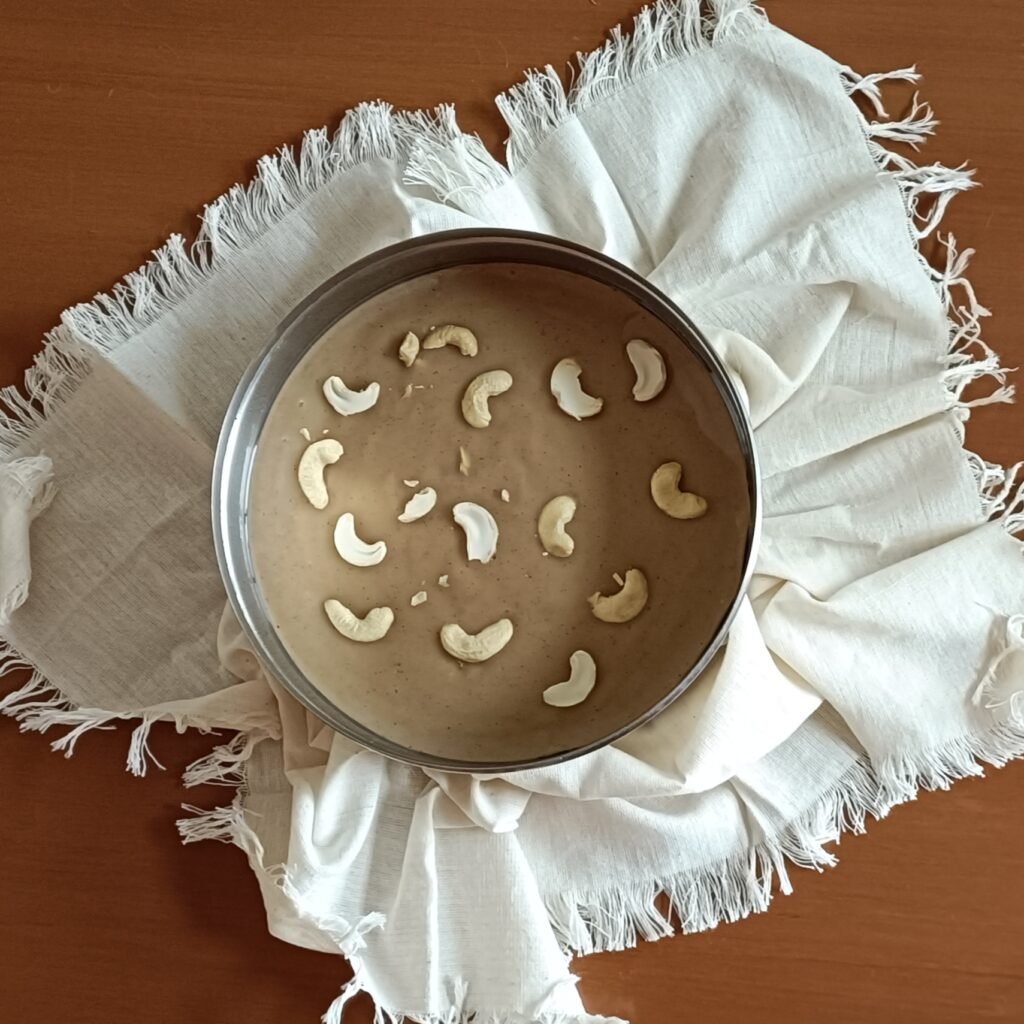
Pour the mixture into the greased mould or individual bowls and smoothen the surface with the back of a greased spoon to level it out if necessary. You can place some cashew nut or any other dry fruit at the base of the containers before pouring the mixture in the containers.
Cover with a plate and allow it to cool completely. You can refrigerate it for an hour or so if you wish.
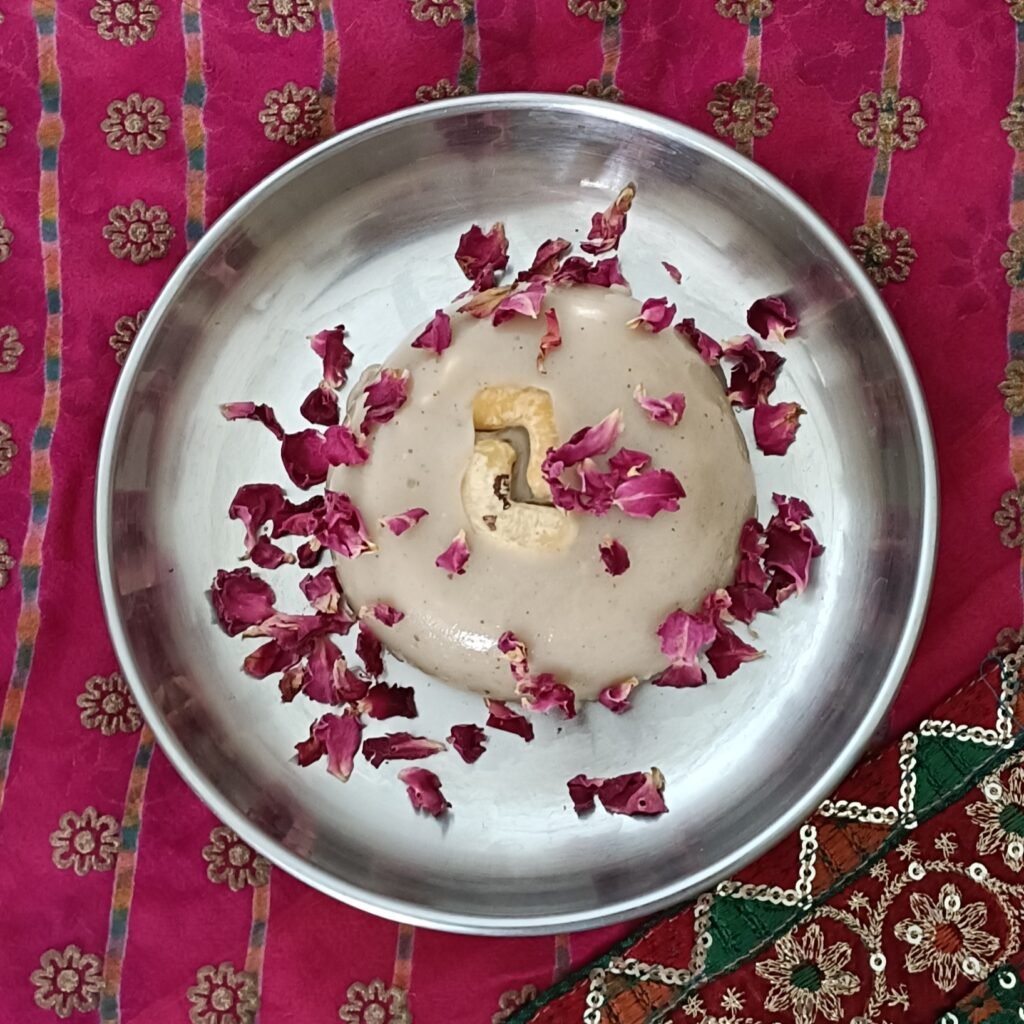
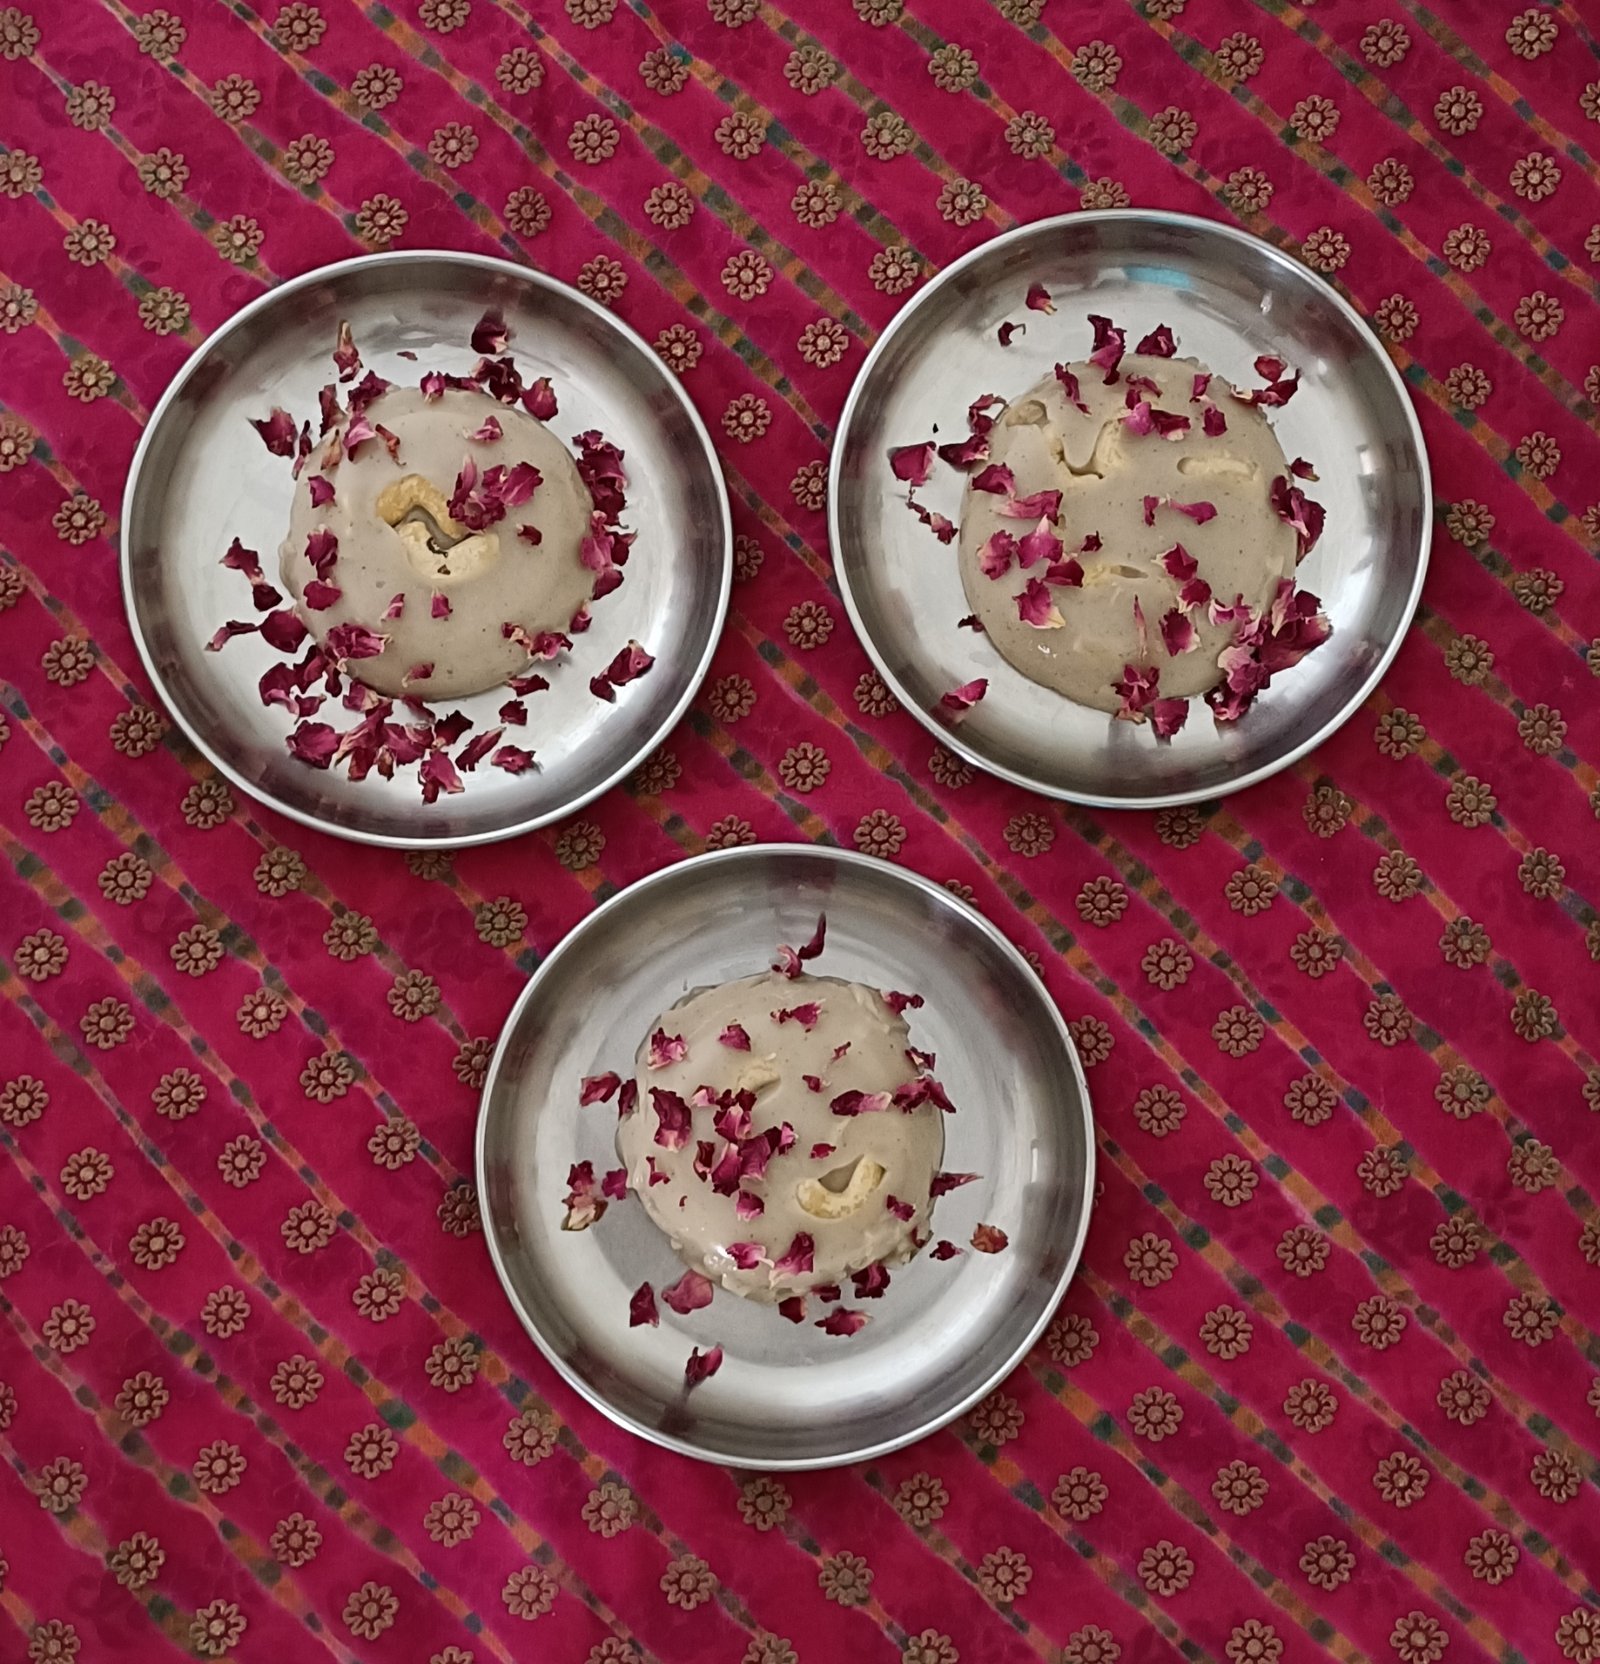
Once it has cooled down to room temperature or cooler, run a knife along the edge of the mould very gently and move the pan in a manner to release the kapa from the sides. Then place a plate on top of the mould and turn it upside down and gently tap on the flat surface to loosen the kapa till it transfers to the plate.
Cut it in squares or diamonds and garnish with cashews and rose petals. Note: if you use more water than mentioned, the kapa may become a little softer or like a pudding or porridge and may not set well enough to be cut into pieces. It will still taste just as delicious though.
Serve it at room temperature or cold.
For the Whole-Food Plant-Based (WFPB) version:
This cannot be made into a WFPB dish as it uses milks extracted from ragi and coconut. The fibres of both cannot be used in this dish.
However, you can use sprouted ragi flour instead of ragi milk to get it closer to the whole plant version.
Also, make it a little healthier by using unrefined salt like rock salt and date paste instead of jaggery.